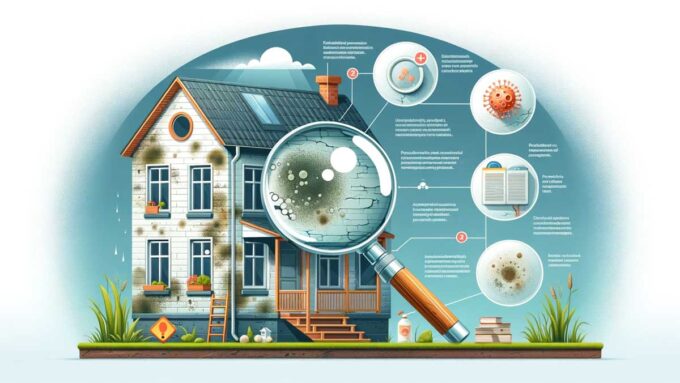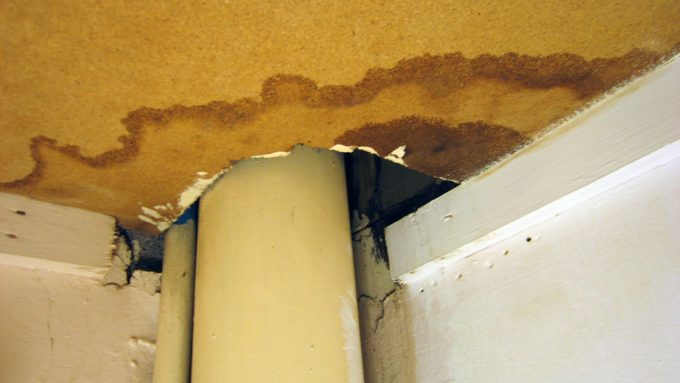
Water damage that occurs above you on the ceiling is not something you should let go—for the health of your home or of you and your family. With the craziness of life and the adult responsibilities we all have, it can be easy to get too busy and let a few things slide; however, a water-damaged area can begin to grow mold within 24 hours, so it is rather important that it be taken care of immediately.
According to Home Tips, “If rain penetrates your home’s roof (or if a pipe that passes through the attic or an upper floor leaks), the result is often readily apparent somewhere on the ceiling below the problem spot. Water drips or runs downward and eventually lands on the upper surface of the ceiling material, which is typically drywall or plaster. There it pools and spreads until it finds a place to continue its downward journey. With drywall, that place is often a seam between the ceiling’s panels. If the ceiling is plaster, the water usually just builds up until it saturates the surface enough to leak straight through.”
What are the steps in repairing a ceiling that has been damaged by water?
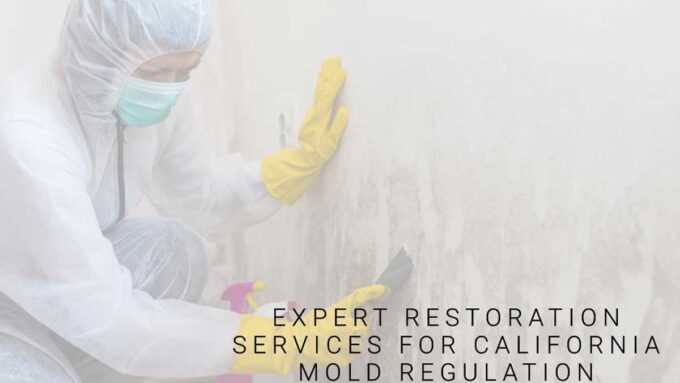
First, if you suspect here to be mold, you’ll want to either know for sure by getting it tested or proceed like there is mold. You definitely want to get that cleaned up ASAP and prevent mold spores from spreading. Calling a professional is your best bet. The last thing you want is to cause more damage to your ceiling, to use hazardous chemicals in the wrong way, or to not get rid of all of the mold.
Let’s proceed as if there is no mold…
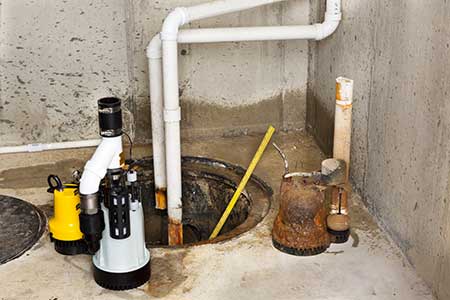
If you can get into the attic, do so and look for where the leak is located. You can catch the leak with a bucket until you can stop the water flow; you don’t want the situation to get worse.
Home Tips also advises: “If you cannot get into an attic above the leak and water is dripping down from one point in the ceiling, place a bucket on the floor under the drip. Prevent the water from pooling and spreading by punching a small hole through the ceiling’s surface with a nail or an ice pick and allowing the pooled water to drain into the bucket.”
If it was the roof that was leaking, repair it ASAP, even if it is a quick temporary fix until you can get a professional out; you don’t want it to rain again and start over from square one.
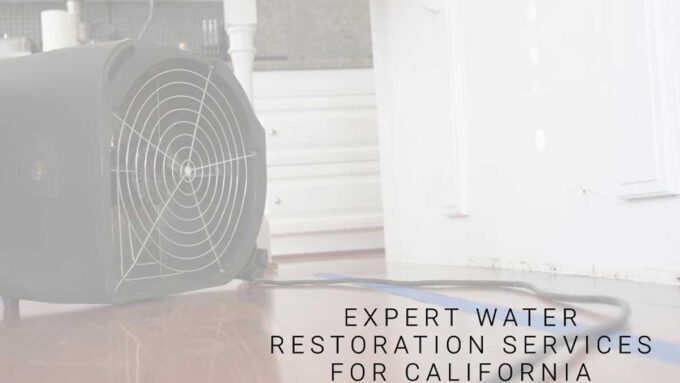
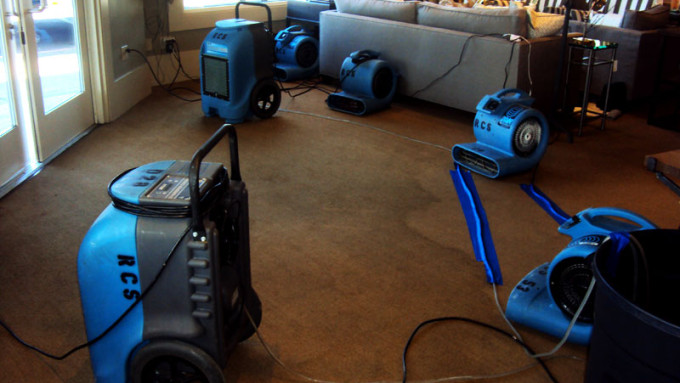
As far as the water-damaged ceiling goes—try to dry it out as quickly as possible (preferably from above and below). You must let the area dry completely before repairing.
DoItYourself.com provides the information with the last three steps:
Remove damaged parts of the ceiling: If there are any portions of the ceiling that are loose or bulging, you should scrape them away. Use a putty knife or paint scraper to remove any flaking or chipping surface as well. You won’t have to scrape anything, however, if the ceiling is still flat and smooth.
Prepare the ceiling surface: Use sandpaper to smooth over the ridges between the affected and clean areas. Remember to put on safety glasses before you start working to avoid getting dust in your eyes. If there are big holes in the ceiling, use new sheets of drywall or plaster to repair them. Smaller holes need to be filled with joint compound only. Remove any resulting bumps with sandpaper.
Prime and paint: If there are visible stains on the ceiling, apply a coating of primer over them. Allow the primer to dry and apply a second coat if necessary. If you skip this step and apply a coat of paint directly over the stains, they will show through. Once the primer has dried, you can begin to paint. To achieve a uniform color, it is recommended to simply cover the whole ceiling.
Hopefully by following these steps, you will be able to repair a small water-damaged portion of ceiling. If it is a large area, you will want a professional to come out. If the damage is something that you can tackle on your own, there are various sources online with step-by-step guides on how to do this efficiently and safely.
Professionals from Restoration Certified Specialists, Inc. will take care of you if you are in need of a water and mold restoration specialist! They have been proudly serving the Santa Rosa and North Bay areas since 1975.