Sometimes, especially if you live in a rainy or humid area, dry rot is impossible to fully prevent. When dry rot does strike, however, it is important that you fix the problem as soon as possible to prevent costly repairs in the future. There are two ways to fix the problem: you can either repair or replace the affected wood. Replacing is usually the best option, however, as the wood may have damage that you can’t see. Not sure how to replace the wood? Here are 5 steps for replacing wood affected by dry rot.
Remove All Affected and Nearby Wood
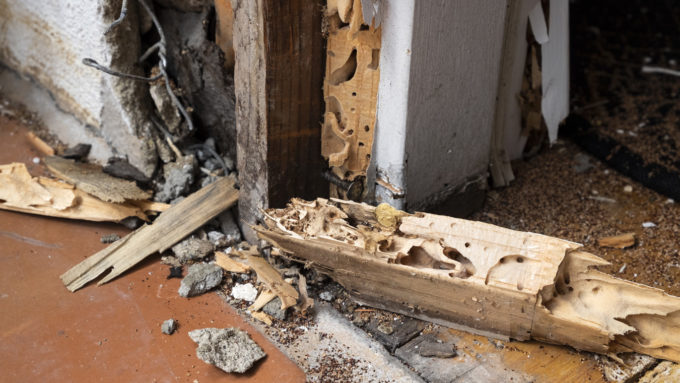
The first step is to, of course, remove all the affected the wood. Since dry rot is a fungus, however, and it travels through airborne spores, it is important to remove all wood within a radius of about three feet as well. This will help prevent future issues, and it will make sure that you have nipped the entire infestation.
Remove Exteriors like Plaster or Paneling
Like mentioned in the step above, dry rot travels through the air through spores. This means it can end up in places – like behind plaster, paneling, or the ceiling – without you knowing. This is why it is important to strip all exterior surfaces so you can fully examine all the wood in the area. It takes just one piece of wood with dry rot to affect all the wood nearby, so you have to be through.
Clean
After everything is stripped bare, and all the affected wood has been removed, it is important to use a strong cleaning solution to wipe down all remaining pipes and other metal fixtures. While these structures themselves can’t grow the mold, they can still hold the spores. You should clean all structures within a five-foot radius from where the wood was.
Prevent Future Problems
After everything is cleaned, you should begin taking the steps to prevent dry rot from becoming a problem again. Spray a fungicide everywhere, but especially around the previously affected area.
Replace
After everything else is done, you can begin to work on replacing the wood you removed. While doing this, you should be sure to use a preservative treated wood to help prevent any reinfections. When plastering or painting the wood, also make sure that you are using a zinc oxychloride based product.
Final Thoughts
DIY replacement and repair of dry-rotted wood can be a tedious task at best. If you find that your home or business is suffering from dry rot and you’re not ready to take the task on yourself, be sure to call our local Santa Rosa team here at Restoration Certified Specialists!